
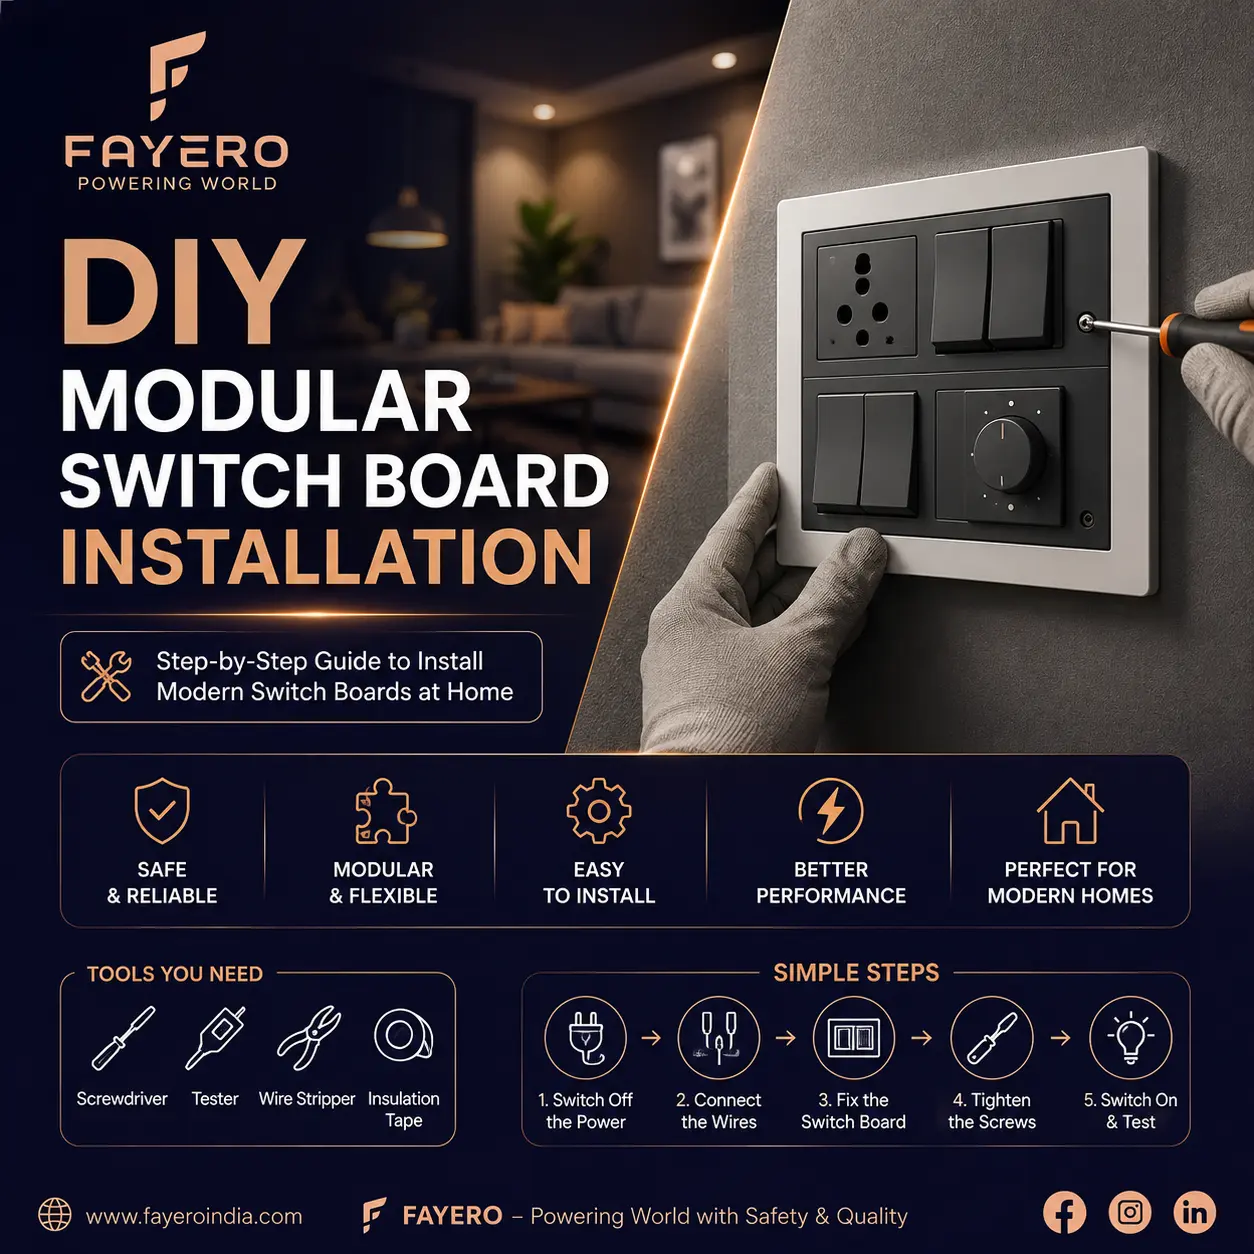
A modular switch board can give your home a cleaner, more organised and modern electrical setup. Unlike older switch boards where switches and sockets are fixed into a single plate, modular systems use individual modules that can be arranged according to the needs of a room.
Whether you are renovating your home, replacing an old switch board or planning a new electrical setup, understanding how to install modular switch board systems can help you understand the process and make better decisions about your electrical fittings.
However, electrical work involves genuine safety risks. A switch board should only be opened or wired by someone who is competent to do so. If you are not trained in electrical work, use this guide to understand the process and have the actual wiring carried out by a qualified electrician.
With that in mind, here is a practical modular switch installation guide covering the components, planning, basic installation process, safety precautions and common mistakes.
A modular switch board consists of separate electrical modules fitted into a common frame and plate.
Depending on the requirements of a room, a modular setup may include:
Light switches
Fan regulators
Power sockets
USB charging modules
Data or communication modules
Indicator modules
Bell push switches
Other compatible electrical accessories
The individual components are known as modular switch modules. They can be arranged in different combinations, allowing homeowners to create a switch board that suits the electrical requirements of the room.
The visible plate also gives the installation a neat and contemporary appearance.
Modular switch boards have become popular in modern homes for several reasons.
Because individual modules can be arranged within a frame, you have greater flexibility when planning switches and sockets.
The clean layout of modular plates can complement contemporary interiors.
If a compatible module becomes damaged, it may be possible to replace the individual module rather than changing the entire plate.
Multiple switches, sockets and controls can be arranged neatly in one location.
Different room requirements can be accommodated using different combinations of modules.
The most important part of a DIY switch board setup is planning.
Before touching the wiring, decide what the board needs to control.
For example, a bedroom board may require:
Ceiling light switch
Fan switch
Fan regulator
Additional socket
Bedside charging point
A kitchen may require several sockets and dedicated circuits for appliances depending on the electrical design.
Do not simply copy another room's switch board. The electrical requirements can be different.
Also consider where the board will be located. Switches should be easily accessible and positioned according to applicable electrical and building requirements.
The exact tools depend on the installation, but a qualified electrician may use items such as:
Compatible modular switches and sockets
Modular frame
Front plate
Suitable electrical box
Insulated screwdrivers
Wire stripper
Appropriate electrical connectors
Voltage tester or suitable testing equipment
Measuring tools
Screws and mounting accessories
The wire size and type must be appropriate for the specific circuit and electrical load.
Do not select wire simply because it fits inside the module. The conductor must be correctly sized and protected for the circuit.
Before discussing the switch board wiring steps, safety needs to be clear.
Electrical wiring can cause electric shock, burns, fire and other serious injuries when handled incorrectly.
If you are not qualified to perform electrical work, do not attempt live wiring.
Important electrical safety tips include:
Turn off the relevant circuit before work begins.
Switch off the main supply when required for the work.
Do not work on live electrical connections.
Verify that the circuit is actually de-energised using appropriate test equipment.
Keep hands and tools dry.
Use properly insulated tools.
Never guess which wire is live.
Do not overload a socket or circuit.
Use appropriate circuit protection.
Have the completed installation inspected and tested by a qualified electrician.
Turning off a switch on the wall is not enough to assume that the wiring is safe. The relevant electrical supply must be isolated and verified before work begins.
Before opening an existing switch board, isolate the relevant electrical circuit at the distribution board.
If there is uncertainty about which circuit supplies the switch board, isolate the appropriate main supply as directed by a qualified professional.
Use suitable test equipment to verify that the circuit is de-energised before any wiring is touched.
This is one of the most important steps in the entire installation.
If you are replacing an old switch board, carefully remove the existing front plate.
Do not pull or disturb the wires unnecessarily.
Before disconnecting anything, the existing circuit should be properly identified and documented by a competent person. Incorrectly reconnecting wires can create a serious safety problem.
If the existing wiring is old, damaged, loose or shows signs of overheating, stop the replacement and have the installation inspected.
The modular frame needs to fit correctly into the electrical box.
Check:
Box dimensions
Mounting points
Available depth
Condition of the box
Number of modules required
The box should be securely mounted and suitable for the modular system being installed.
A loose or damaged electrical box can result in a poor fitting board and may make the installation unsafe.
Arrange the required modules before fixing them into the frame.
For example, you might have a layout containing:
Light switch | Fan switch | Regulator | Socket
The exact arrangement should be based on the room's electrical requirements.
Try to place frequently used controls where they are easy to reach.
The individual modular switch modules are normally clipped or secured into the compatible frame.
The exact mechanism varies between manufacturers, so follow the product instructions.
Do not force a module into a frame. If it does not fit properly, check that the module and frame are compatible.
Once the modules are securely positioned, the front plate can be prepared for installation.
This is the stage where professional expertise is especially important.
The switches, sockets and other modules must be connected according to the circuit design, manufacturer instructions and applicable electrical requirements.
Live, neutral and protective conductors must be correctly identified and connected where applicable.
Do not rely on wire colour alone, particularly in an existing installation. Wiring practices may differ in older buildings, and colours can be incorrect or altered.
A qualified electrician should verify the conductors and make the required connections.
Before the board is closed, all connections should be checked for proper termination and security.
Loose electrical connections can create resistance and heat, potentially damaging the wiring or accessories.
The electrician should also check that:
Conductors are correctly terminated.
No exposed conductor is left where it should not be.
Connections are secure.
The earth connection is correctly provided where required.
Wires are not being excessively pinched or stressed.
The circuit protection is appropriate.
Once the electrical connections have been completed and checked, carefully position the frame and front plate.
The plate should sit evenly against the wall without excessive pressure on the wiring.
Tighten the mounting screws securely, but avoid overtightening them as this can damage some plastic components.
The finished plate should be stable and properly aligned.
After the installation has been completed, the circuit should be tested before normal use.
A qualified electrician can verify the operation of each switch, socket and other module and carry out appropriate electrical tests.
If a switch does not work, a socket shows unusual behaviour or a breaker trips immediately, do not keep resetting the breaker or experimenting with the wiring.
Turn the supply off and have the installation inspected.
A modular board can contain several types of circuits, so there is no single universal wiring arrangement.
For example, a simple light switch circuit is different from a socket circuit. Fan controls can have their own requirements, while high load appliances may require dedicated circuits.
This is why generic online switch board wiring steps should not be treated as a substitute for the actual circuit diagram or manufacturer's instructions.
The wiring must match the electrical design and the characteristics of the connected load.
This is one of the most dangerous mistakes. Always isolate and verify the supply before work begins.
Adding more sockets does not increase the capacity of the circuit. The circuit's wiring and protection must be capable of handling the connected load.
A conductor that is too small for the load can overheat. Wire selection should be based on current carrying capacity and installation conditions.
Protective earthing is an essential part of electrical safety. Never remove or bypass an earth connection to make an installation work.
Poorly tightened terminals can create heat and electrical faults.
Modules and frames should be compatible. Do not force products from different systems together unless the manufacturer specifically states that they are compatible.
A new modular plate may not fit an old electrical box correctly. Always check dimensions before purchasing.
The idea of DIY electrical work may seem simple when replacing a switch plate, but wiring itself can be hazardous.
Installing a decorative front plate or organising non electrical components may be relatively straightforward. However, connecting electrical conductors, modifying circuits or installing new electrical points should be handled by a qualified electrician.
This is particularly important when the work involves:
New circuits
High load appliances
Additional sockets
Kitchen wiring
Bathroom wiring
Distribution boards
Old or damaged wiring
Changes to protective devices
If you are unsure about any part of the installation, professional assistance is the safest option.
When selecting a modular system for your home, consider:
Number of modules: Choose a frame that can accommodate all required switches and sockets.
Material quality: Select durable components designed for regular use.
Compatibility: Make sure switches, sockets, frames and plates belong to a compatible system.
Design: Choose a plate that complements your interior.
Electrical ratings: Check that the modules are suitable for their intended electrical loads.
Safety and standards: Look for products manufactured and tested according to applicable requirements.
Future flexibility: Consider whether additional compatible modules can be added later.
The quality of electrical accessories matters because switches and sockets are used every day and form part of the home's electrical system.
Fayero offers electrical solutions designed with modern homes and everyday applications in mind. Its modular electrical products can be considered by homeowners and professionals looking for a combination of practical functionality and contemporary design.
When selecting Fayero or any other electrical brand, always check the product specifications, ratings and compatibility before installation.
A good modular system should not only look attractive but also work reliably as part of a properly designed electrical installation.
Understanding how to install modular switch board systems can help homeowners plan their electrical fittings more effectively, but electrical safety should always come first.
A modular switch board offers flexibility, a clean appearance and convenient organisation of switches, sockets and other electrical modules. However, successful installation depends on correct planning, compatible components, appropriate wiring and proper circuit protection.
If you are replacing an existing plate, start by checking the electrical box and module configuration. If the work involves actual wiring or circuit changes, have it completed by a qualified electrician.
Choosing quality products from a reliable brand such as Fayero, combined with proper installation and regular electrical maintenance, can help create a safer and more convenient electrical setup for your home.
A modular switch board uses individual switches, sockets and other modules fitted into a common frame and plate.
You can plan the layout and understand the installation process, but electrical wiring should be handled by a qualified electrician for safety.
Check the electrical box, module size, frame compatibility, circuit load and wiring condition before installation.
No. Wiring depends on the circuit, connected load, electrical design and applicable requirements.
Fayero offers modern electrical solutions designed for everyday residential applications, combining practical functionality with contemporary design.